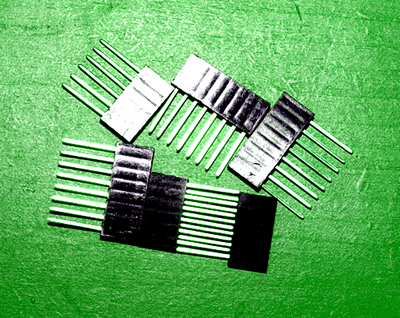
Brian Moreau

Search my site


Plasma
   Home   
    Solutions    
    Articles   
    Projects   
    Blog   
    Contact   
    Maker Portfolio   


Simple and cheap method to connect to Arduino

Make a Screw Terminal enabled Arduino

May
2015

So if you have ever used any of the classic Arduino board you’re know how difficult it can be to connect external components without using any of the prototype shields.

The problems that arise are the sockets are a little fussy about what goes in them.
Multicore cables generally have to be precisely tinned and single core cables have to be of a certain diameter. Neither make reliable connections.
Even the official patch cables can cause connection problems especially when the sockets have been well used.

Another problem with any of the above methods is that you can only put one cable in each socket. If you have a lot of external sensors and or components then you’re most likely run out of places to connect GND and power lines.

So here is one cheap and easy method.

All you need

  • Arduino Stackable Headers

  • PCB mount screw terminals (2.54mm pitch)
  • Arduino Stackable Headers
    PCB mount screw terminals

    The process

    Cut the pins off the Stackable Headers so that they fit all the way into the sockets and flush with the top

    Cut Header Pins
    Put header pins in sockets

    Push the screw terminals directly into the sockets and your find they fit very tightly making good connection
    NOTE the photo shows the screw terminal not completely pushed all the way in.

    Screw Terminal Arduino

    The only drawback with this is that you won’t be able to extract the pins after but then since you now have an Arduino with screw terminals why would you want to.

    Arduino Screw Prototype

    TIP #1
    The stackable header pins are flat on one side so ensure you put them in the right way or the connection won’t be secure.
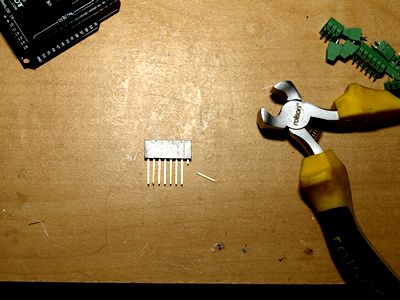
    TIP #2
    It is quite hard to judge the exact length of the pins so you can cut them a little longer than required and then trim them off once pushed into the sockets.
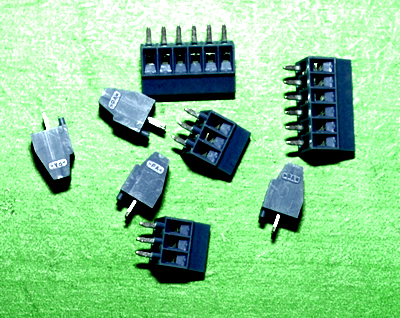
    TIP #3
    Sometimes the pins on the screw terminals will retract into their own block when you try to push them into the Arduino sockets so to prevent this tighten the screws.
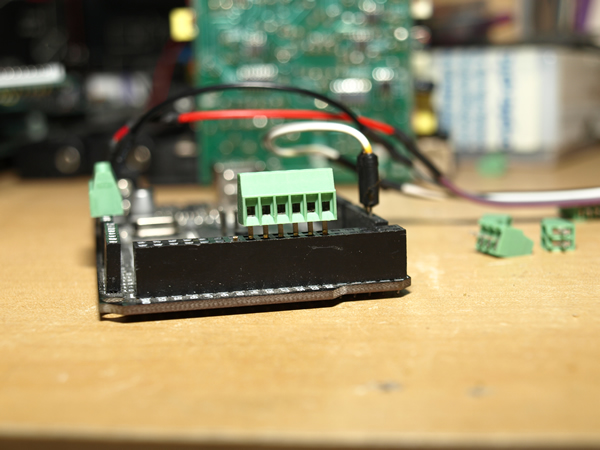
    TIP #4
    After fitting the cut pins slide another in from either the front or back to make a guide for the screw terminal pins. Apply the screw terminal pins to either the front or rear but keep them all the same.

    TIP #4
    The additional digital pins on the mega tend to be a little tight but with careful fiddling they will go.

    TIP #5
    ALWAYS ENSURE THEY ARE PUSHED FULLY DOWN AND ARE NOT TOO SHORT
    Check continuity with a meter once fitted.


    Readers comments >

    Sorry there are no comments, be the first to leave a comment.


    Leave a comment or ask me a question >

    You don’t need to register to leave a comment because I feel people should not be forced to register to have their say.
    All comments are checked prior to publishing to prevent spam.
    Don’t worry this wont take long.
    If you supply your email address below you will automatically be notified when I approve your comment.

    Full name > *
    eMail address > (not published)
    Website > (http://...)
    Location > (town or city)
    Comment or question > *
    Human *
      * feilds required  


    Make a Screw Terminal enabled Arduino
    © 2008 - 2021 - Brian Moreau

    Valid XHTML 1.0 Transitional Valid CSS!